Posts

Texturing Drone 1: Pt 2 - Complete.
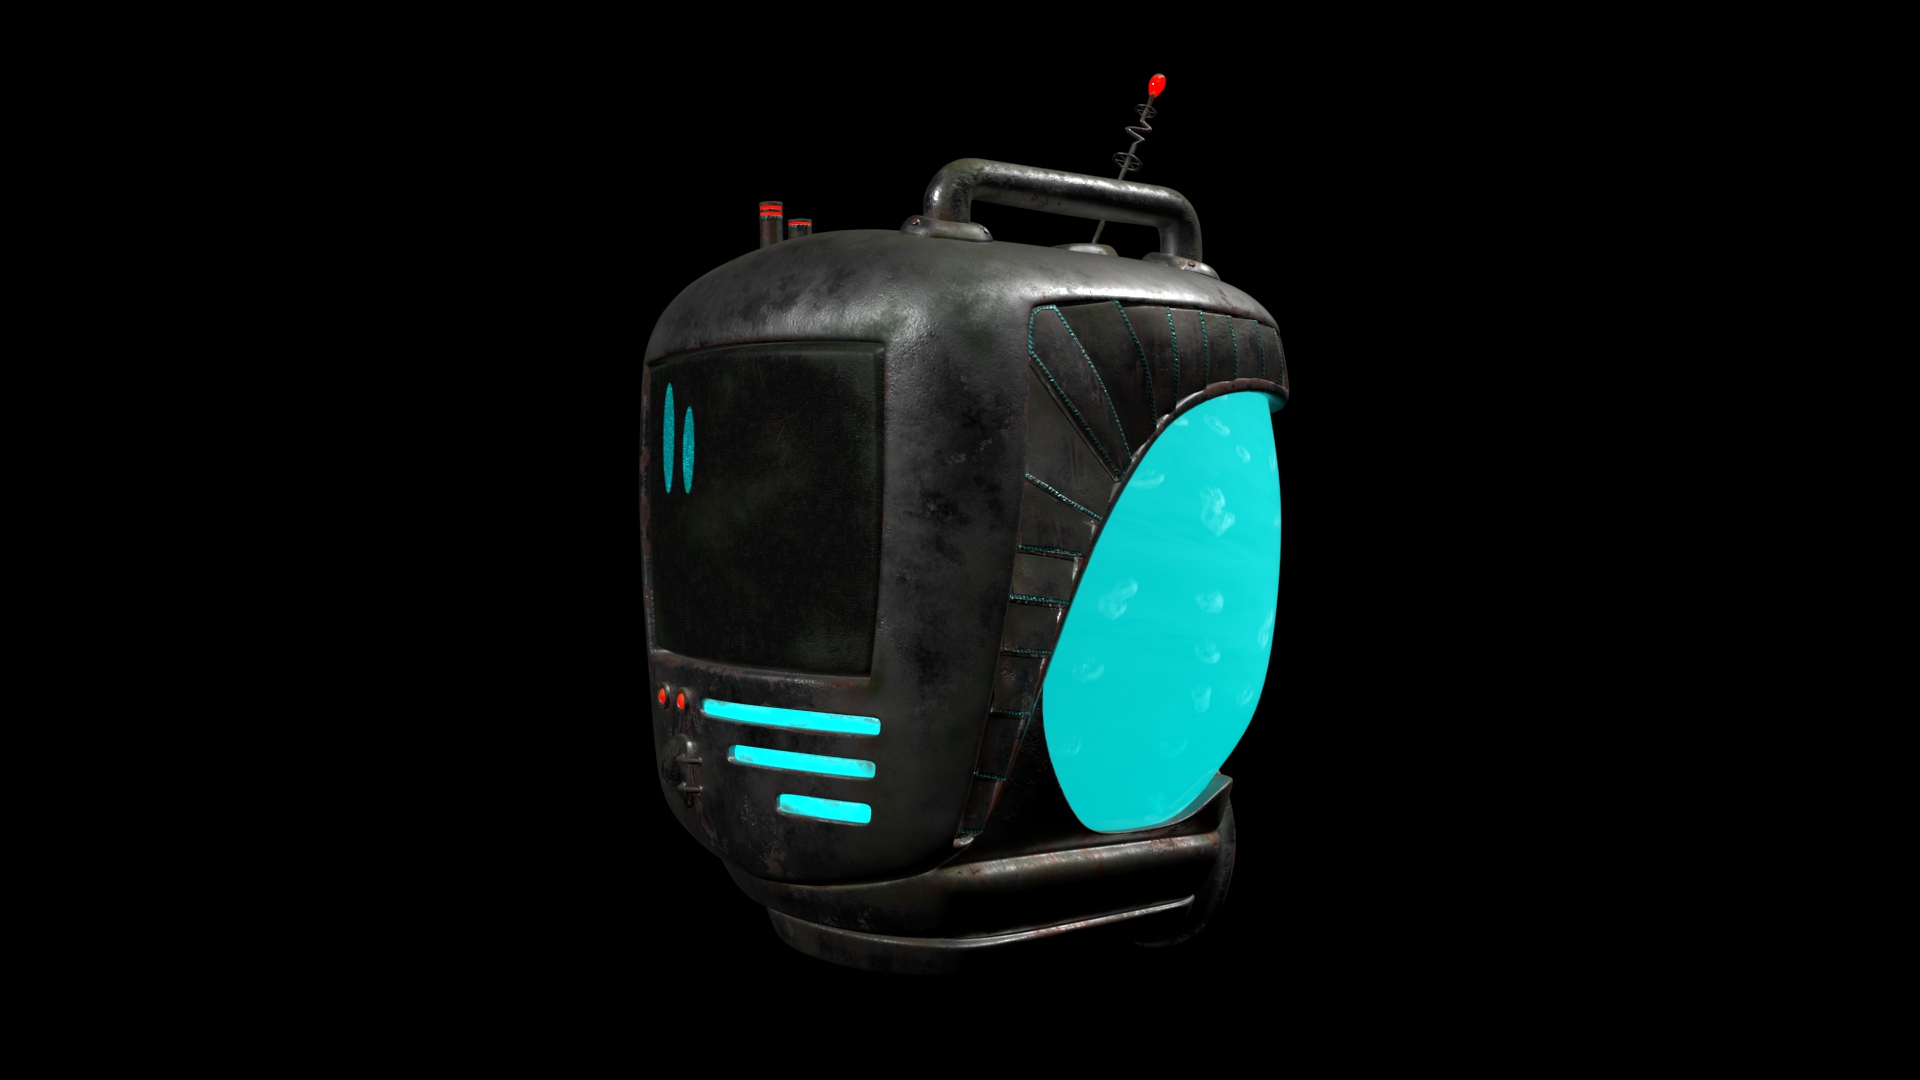
Image
Continuing on from Texturing Drone 1 Part 1, I looked to round of the texturing in Substance Painter and moved onto importing the exported maps from Substance into Maya. Had a little trouble getting the maps to work accordingly, but once the settings were right the final drone came together. Here I also looked to add in an effect for the water tank to give the impression of bubbling water within the tank to help further imply that the drones are hydroelectric.   Drone 1 Texturing: Pt2. by Jasmine Masters Low Lighting Drone Renders: HDRI Lighting Drone Renders: Tank Bubbles Clip Full: UV Bubbles Clip: Tank Bubbles Inner Mesh. Bubbling Water Tank.

Texturing Drone 1: Pt 1.

I began texturing Drone 1 in Substance Painter, focusing on creating the metal base material for the drone and looking at bringing in that weathered element to signify the age of the drone and show how long it has been out in the field. Texturing Drone 1: Pt 1. by Jasmine Masters

Rigging Drone 2 Arms: Pt4 - Corrective Blend Shapes.

Image
Moving forward, I began to add in the Pose Space Deformers (Corrective Blend Shapes) to the Rig. This consisted of altering areas of the skinned mesh which weren't deforming how they should/how I wanted them to. One of the most notable areas being the wire that comes out of the top of the arm and how the shoulder deforms as it is rotated.  Come the end of this process I find I am now at the stage were I have a useable rig that can be used for simple animation within my sets. Drone 2 Rigging: Pt4. by Jasmine Masters Wire Popping Problem: Wire Popping Problem Solved:

Rigging Drone 2 Arms: Pt3 - Skinning.

Image
Continuing on with Drone 2, I started the skinning process by skinning the antenna for the drone and then proceeding onto skin the arms for the rig. With this I found it to be quite challenging in getting the weights to fall where I wanted them; this particularly around the elbow and shoulder joints where there is a lot of clipping and deformation to the mesh.  With this in mind I'm planning to use pose space deformers to help correct some of the mesh distortions to help the flow of movements in the arm. So, hopefully come the end there shouldn't be too much stretching and pulling in places where there should be none. Drone 2 Rigging: Pt3. by Jasmine Masters on Scribd Shoulder Skin Test: Elbow Skin Test: Wrist Skin Test: Hand Skin Test 1: Hand Skin Test 2:

Rigging Drone 1 & 2: Pt2.

Image
Moving forward with Rigging Drone 2, I also looked to rig Drone 1 as well. This consisted of copying over elements of the Drone 2 rig over to Drone 1; these being the rig for the antenna and the new added expression I created for the world control to turn the Turbine.  So far the antenna has been skinned to the Drone 1 model and new expression has been added. Going forward I'm looking to finish rigging and skinning Drone 2 and finalize each model through texturing. Drone 1 & 2 Rigging Pt2 by Jasmine Masters Drone 1 Rig Tests: Turbine Test 1: Turbine Test 2: Antenna moves away from Drone Body: Antenna Test 1: Antenna Test 2:

3D Modelling Tests: Pt1.

Thinking about how I'm going to construct my sets, I looked to see how I could make certain components that go into my scenes. The main one being the spiral staircase in the lab tower and the second being smaller details on the lab deck with crumpled piece of paper. I also intend to look further into creating foliage and organic matter within my scenes, this either through modelling or texturing. Modelling Tests. by Jasmine Masters

Rigging Drone 2 Arms: Pt1.

Moving forward with Drone 2, I looked to start creating the arm rig for the Drone. For this I started by creating the arms joints and adding in the hand functions to the rig; as wells as adding in the arm controls to the Drone.  Next I'm aiming to add a control to the antenna, look into scripting for the both drone turbines and look to skin the arms to the arm rig. Drone 2 Rigging Pt1 by Jasmine Masters