Posts

Showing posts from February, 2021

Toolkit 2: Texturing Pipeline -Procedural Texturing & Utility Node Networks.

Image
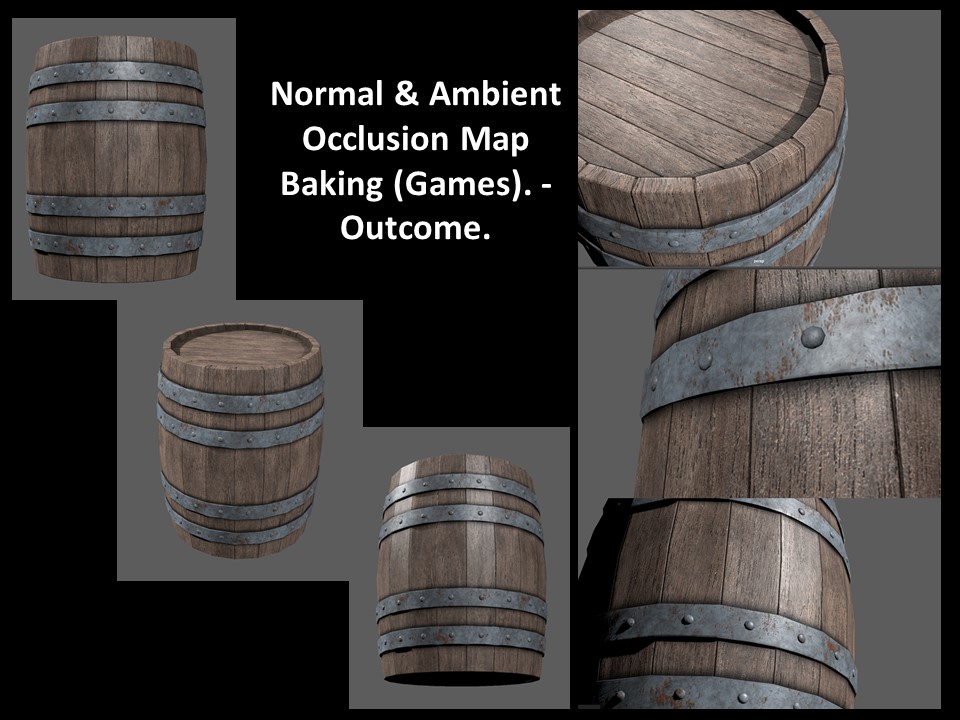
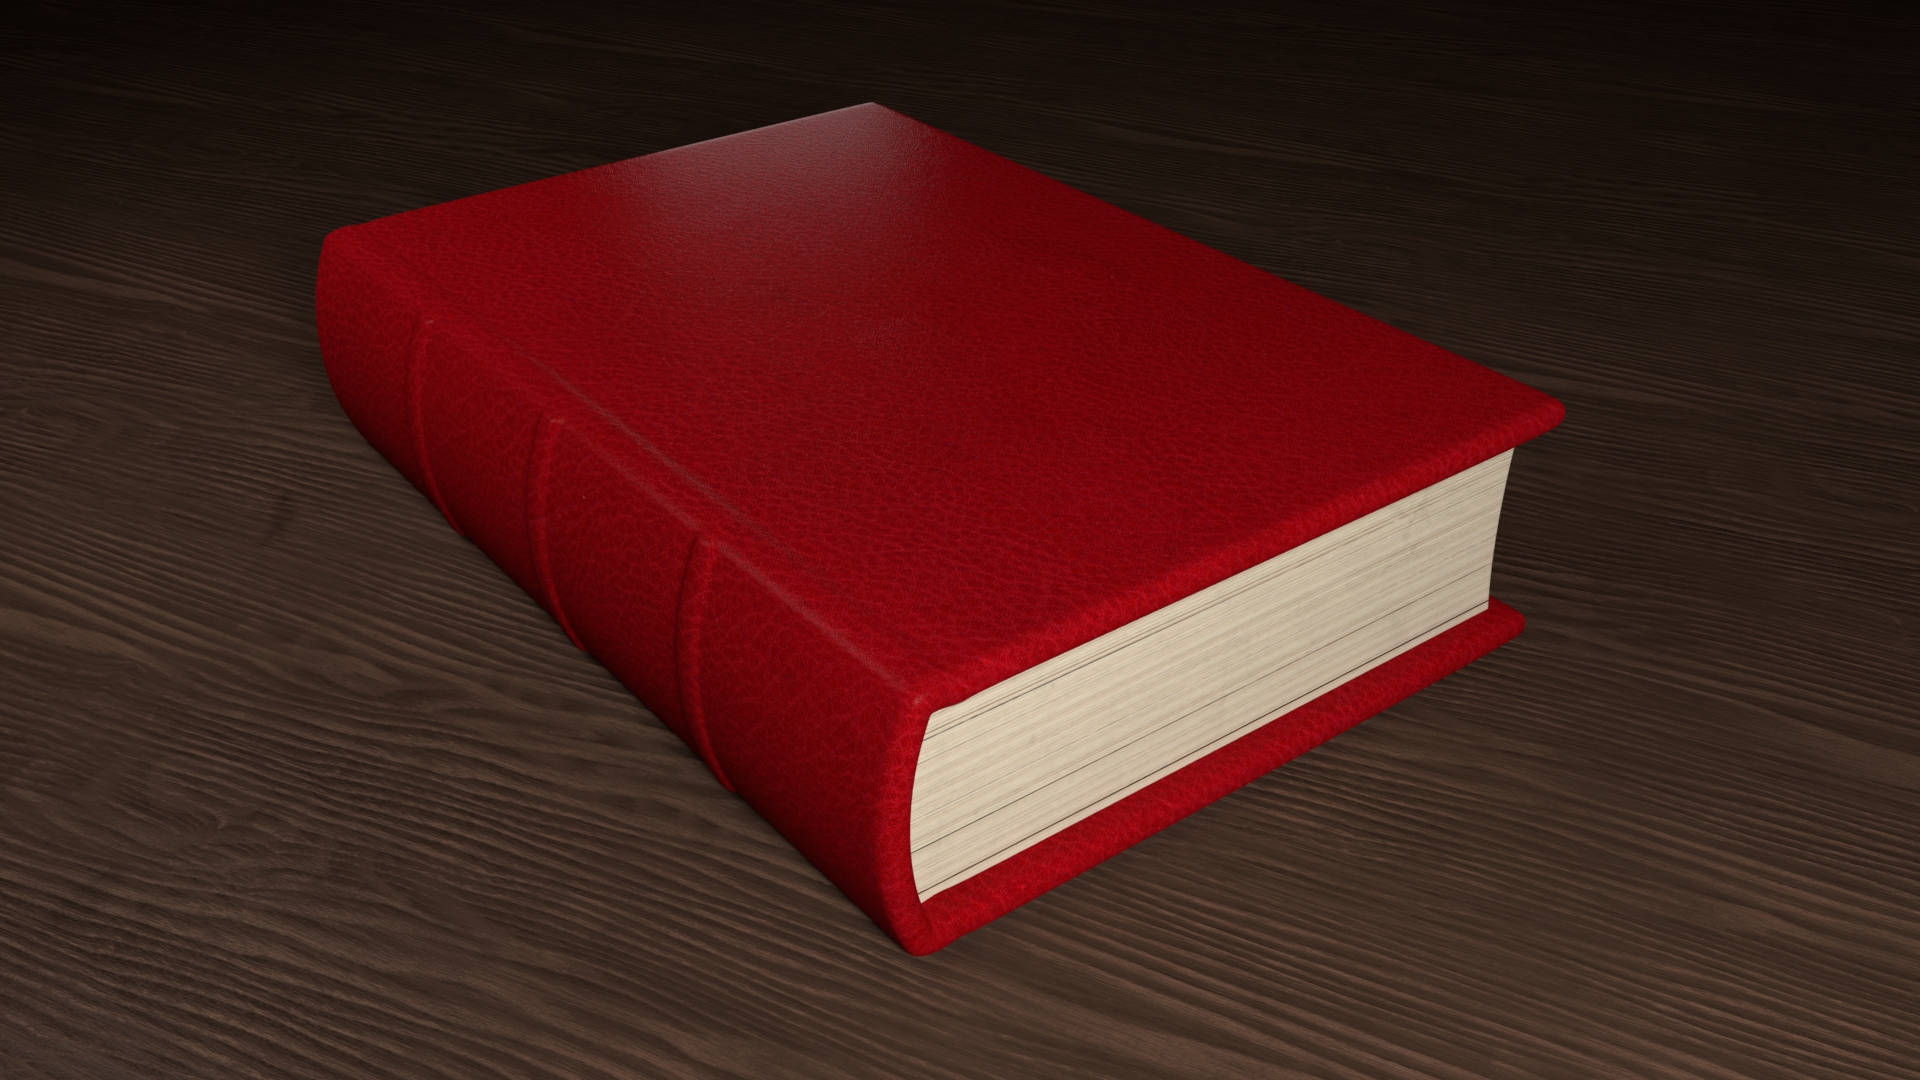
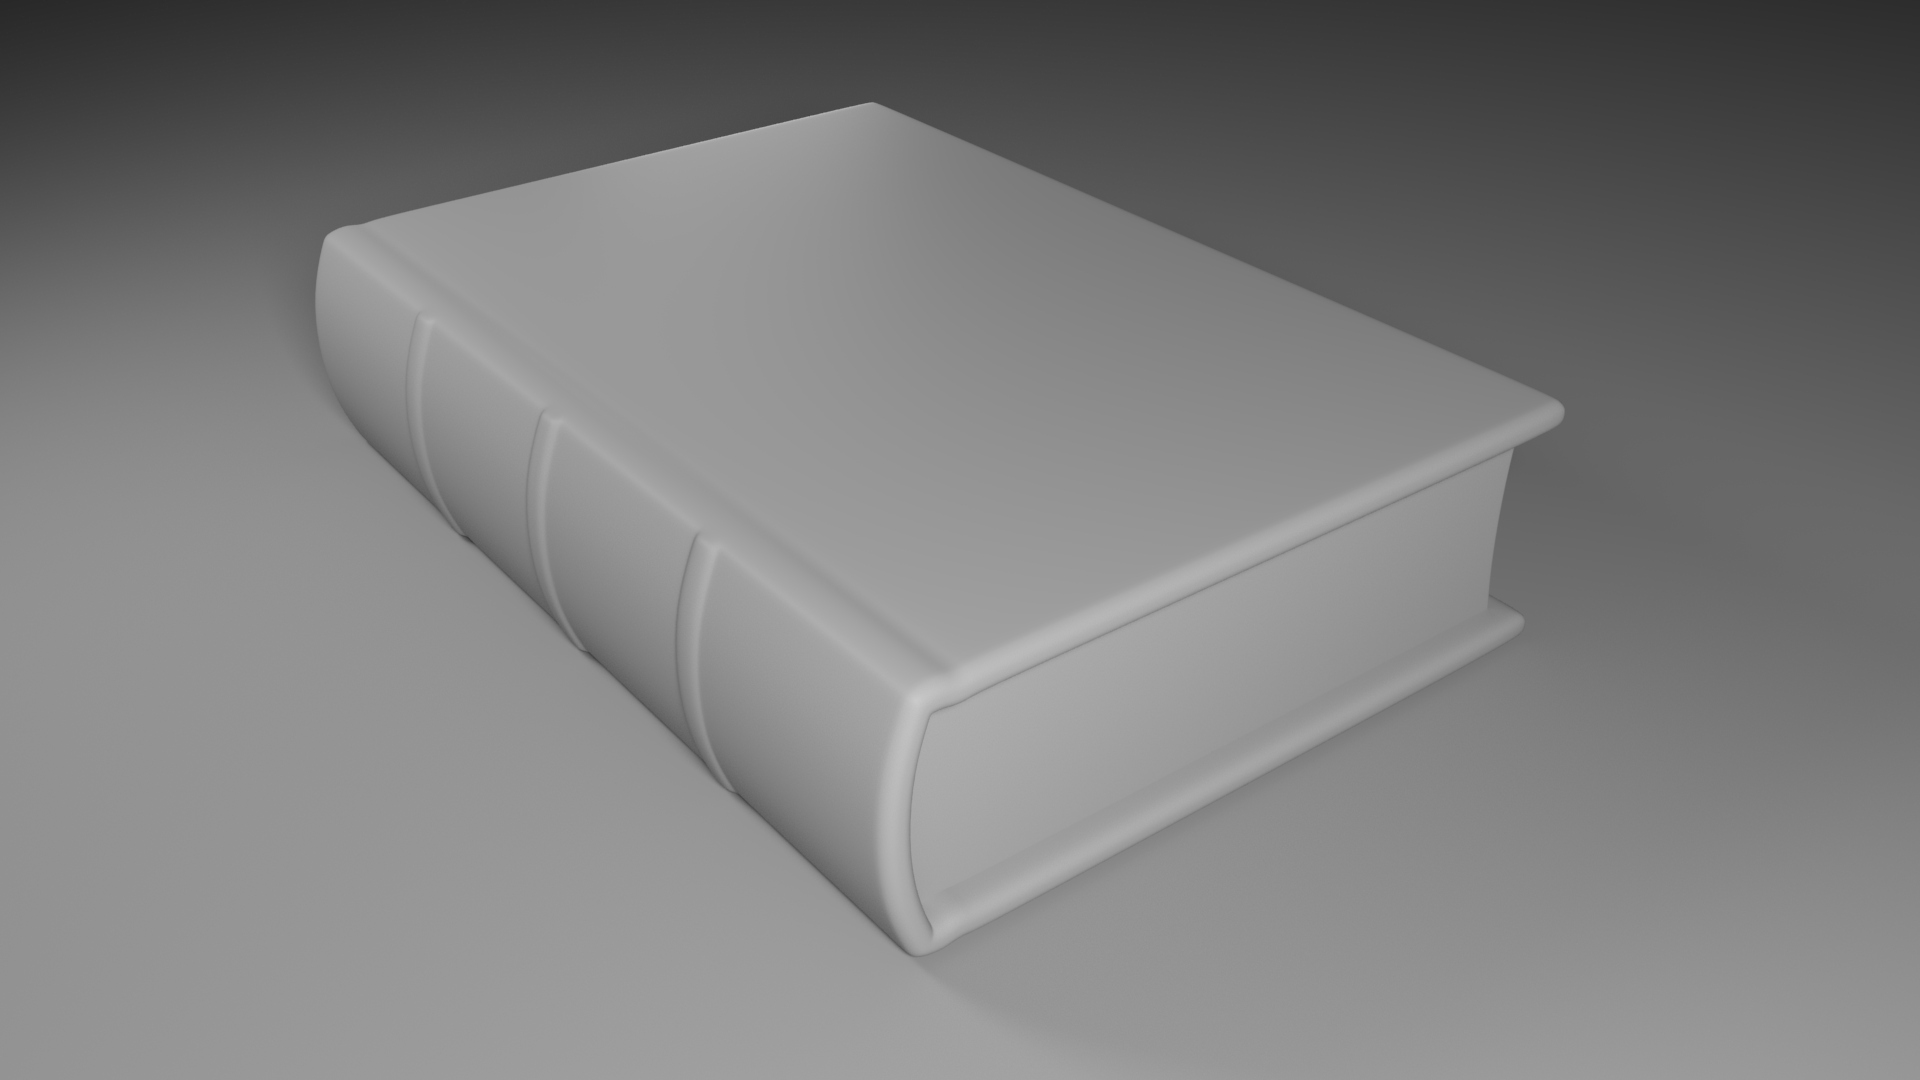
This week we looked at the use of Normal maps and Ambient Occlusion maps with the aid of the program XNormal to generate said maps; these maps are typically used in game engines as quick ways to build texture and depth within the scenes objects. This week we also looked other methods of procedural texturing which included the use of the hyper shade to modify and create node networks. This can be seen with the flipped normals on book pages and the use of animated texture maps. Procedural Texturing & ... by Jasmine Masters Animated Texture Map Still. Video:                        Book Page Flip 1. Book Page Flip 2. Book Page Flip 3.

CAA Kitbash Challenge. #1.

Image
Kitbash : This means throwing pre-existing 'out of context' parts together to create something new and whole. Simply put, taking a series of model kits and just seeing what you can come up with by throwing bits together. For this Kitbash, the task was to create a robot of any description, shape and size. Using the parts already pre-modelled, I began to create my robot; in the time given I was able to form my robot but wasn’t quite able to texture it. Despite this I found this session to be a good way to just come up with interesting ideas to see what I could create in the time given.

Toolkit 2: Texturing Pipeline - Book Texturing Pt3.

Image
Continuing on from lasts weeks  Texturing Pipeline  . This week I looked at furthering the texturing process. This consisted of adding dirt to the book cover, the gold leaf detailing and adding wear and tear to the book cover. Book Texturring Pt 3 by Jasmine Masters Adding Dirt to Book and Ground Plane. Adding the Gold Leaf. Adding Wear and Tear. Final Composite with AO Passes.

Toolkit 2: Check-in.

Maya Tutorials: Lighting and Rendering: Arnold Lighting and Rendering So Far Pt1: Arnold Lighting and Rendering So Far Pt2: Arnold Lighting and Rendering So Far Pt3: Pipeline 1: Pipeline 1 - Head Modelling. Drawing: Life Drawing: Life Drawing #1 . Life Drawing #2. Life Drawing #3. Character Design: Character Design - Production Bible:

Production Bible: Progress So Far

Productions Bible progress so far, still have more to add to round it off to have a finished outcome. Production Bible by Jasmine Masters on Scribd

Toolkit 2: Arnold Lighting and Rendering So Far Pt3:

Continuing on working outside of lessons, I've been working my way through the CG Artist's Toolkit's Lighting and Rendering 1: Arnold Pt2 . Below is what I have completed so far. Toolkit 2 Pt3 by Jasmine Masters

Toolkit 2: Pipeline 1 - Jetpack Jones.

I began modelling the head for modelling the aspect of Toolkit 2 Pipeline. With this I found it challenging and a good way to push my modelling skill set. As I go further into the pipeline my knowledge and understanding of modelling a character in a 3D space should evolve and i should then be able to apply that to my own character modelling in future. Below I have made a start on the head modelling process, which I can then develop and build on in the next stage. Pipeline 1 - Head Modelling by Jasmine Masters

Production Bible: Character Expression Sheets and Turnarounds.

Image
Continuing on with the Production Bible, I then begun to create some expressions and turnarounds for my Lead (Raymond) and Secondary (Melvin) characters. With the turnarounds I found it difficult to draw the front perspective of each character, so the faces may need amending if taken forward into a 3D space. Ray and Vinny together (Height Difference). Main Character Expressions: Rough Sketches: Finalized Outcome: Raymond's Turnaround: Second Character Expressions: Rough Sketches: Finalized Outcome: Melvin's Turnaround:

Production Bible: Second Character Development.

Image
Moving forward with the production Bible, I then begun looking at developing my second character using my lead mouse as a guide to help design a smaller more child like character. For may second character I was aim to have his profile to be younger, smaller and rounder than my lead mouse with big ears that he would have to grow into, with large round eyes to try and convey that of a younger age. To begin with I looked at sketching out some heads to get a feel for how i wanted my second character to look. With this I found it gave me a starting base to work from. Mainly looking at the top middle and the two in the middle row on the left and center of the image. With these in mind I then proceeded to create some poses to have my second character perform to get a better feel for their personality. With this i tried to capture their cheekiness and curiosity of the world around him as well as try to capture a natural pose. Then moved on to digital outcome to sort out colour. trying to go fo

Toolkit 2: Texturing Pipeline - Book Texturing Pt2.

Image
Continuing on from lasts weeks Texturing Pipeline  . This week I looked at furthering the texturing process. This consisted of applying colour to the UV Map and adding in additional textures to add interest to the book and ground surface. Using Bump and Specular Maps to rise the details in the in books/grounds surface. Book Texturing Pt 2. by Jasmine Masters Render Outcomes: Clay render with AO Passes. Colour Blocking. Book with Texture. Book with Bump and Specular Maps. Book with ALL Maps and AO Passes.

Toolkit 2: Linear Workflow Recap and Texturing Pipeline.

Image
In todays Maya lesson we looked at recapping the Linear Workflow within Maya and the texturing processes used to texture models.  Linear Workflow by Jasmine Masters on Scribd Task:  Texturing a pre-modelled book. TEXTURE PIPLINE: Book Texturing Pt 1 by Jasmine Masters on Scribd Lighting Setup Outcome.