Posts

Showing posts with the label Toolkit 2

Toolkit #2: Submission Post & Reflective Statement.

Character Production Bible: Toolkit #2 - Character Prod... by Jasmine Masters See Basecamp for cleaner PDF version^ Character Design Project: Class Work: Lesson 1: https://jasminemasterscaa.blogspot.com/2020/10/character-design-session-1.html Lesson 2: https://jasminemasterscaa.blogspot.com/2020/11/character-design-session-2.html Lesson 3: https://jasminemasterscaa.blogspot.com/2020/11/character-design-session-4.html Lesson 4: https://jasminemasterscaa.blogspot.com/2021/01/character-design-session-5.html Lesson 5: https://jasminemasterscaa.blogspot.com/2021/01/character-design-session-6.html Animation – 5 Poses x2:               i. https://jasminemasterscaa.blogspot.com/2020/10/moom-action-poses.html               ii. https://jasminemasterscaa.blogspot.com/2020/10/week-2-act-moom-relaxed-poses.html Moom Weight Lifting: http...

Toolkit 2: Pipeline 1 - Jetpack Jones Pt 2.

Continuing on with Jetpack Jones Head modelling , I finished off the rough blocking and moved onto completing the mouth and eye sections of the face. Pipeline 1 - Head Modelling P2 by Jasmine Masters

Toolkit #2 - Production Bible Submission.

Image
Complete Character Production Bible. Toolkit #2 - Character Prod... by Jasmine Masters Clean Concept Art: St Paul's - The Night of the Air Raid. Raymond's Home.

Production Bible: Raymond's Home Concepts and Storyboard Outline.

Image
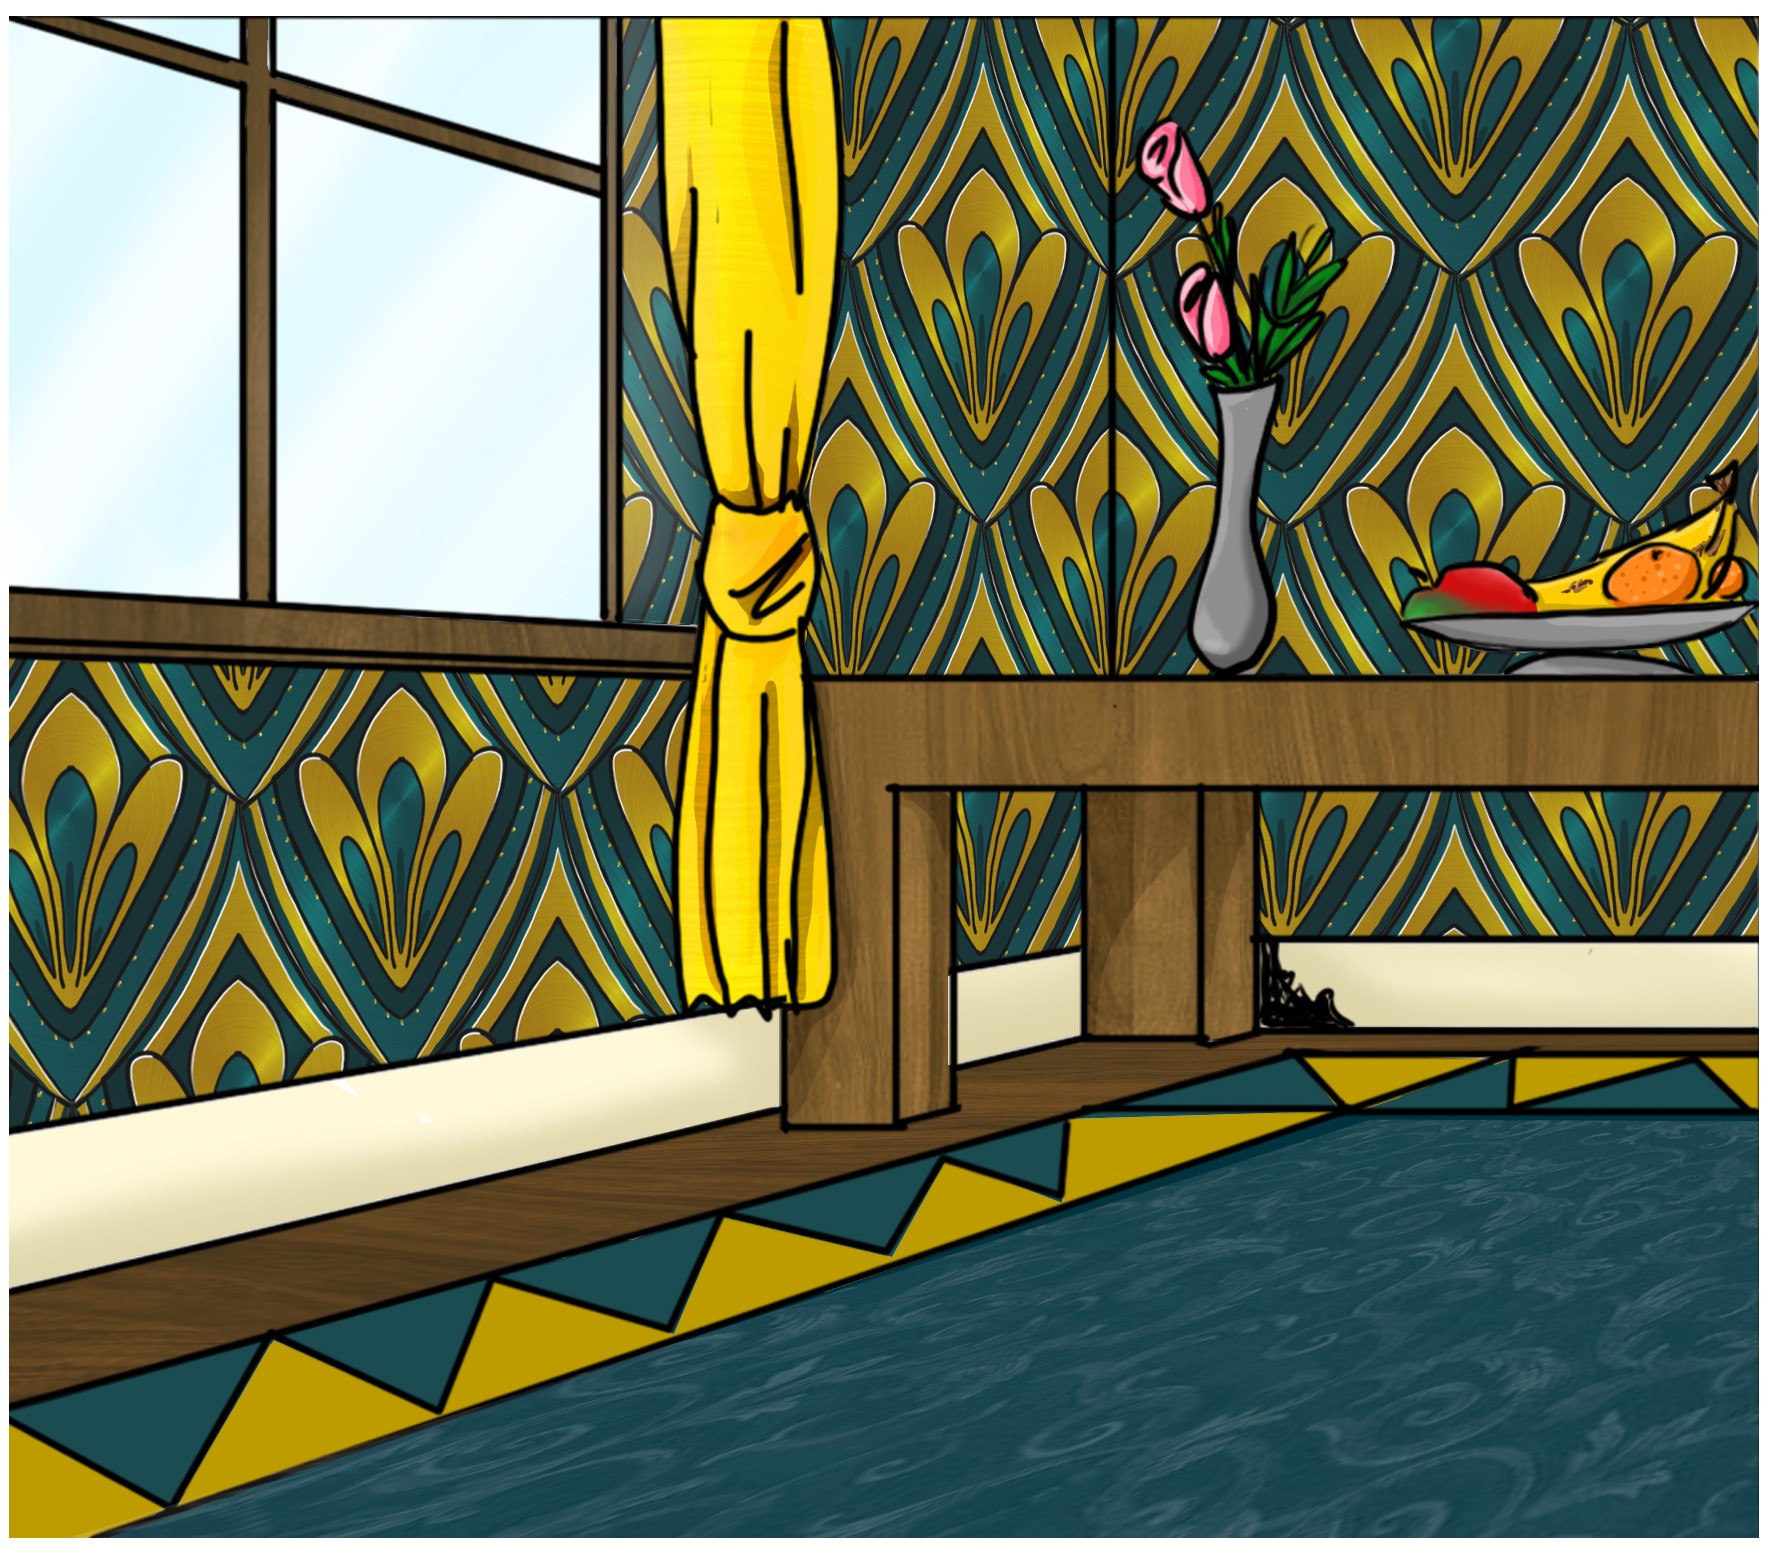
Continuing on with the character design project, I proceeded on to creating further set concepts, set plans and storyboards. To start with I looked at creating the human counterpart set concept with the entrance to Raymond's home hidden in the corner hidden behind the table. Taking influence from the Art Deco period I tried to embody that aspect through the geometric rug and the repeating pattered wallpaper with use of a minimum of 3 colours to keep with the simplicity the period brought to the home. Below that there are set plans for Raymond's home, showing a side and top view of the wall cavity in which he lives. Human Home Concept. Set Plans: Side (Left) Top (Right). From there I began designing some miscellaneous objects that would be found in his home and the ways in which he may use said objects. For example; his bed would be made from a sardine tin with the addition of cotton wadding, scrap material and matches/ an old shilling to make up his headboard. Another wou...

Character Production Bible: Update.

Image
Over the pass couple of months I've been continuing to work on the character design project ; in amongst others, to help round it off. Since the check-in I've been working on finishing of the St Paul's concept as well looking at to add in the gesture sheets for both my characters along with adding in the animation layout. Design Concept 1 - St Paul's. Animation Layout: Camera starts zoomed in on crack in the lamp post base. Raymond and Melvin emerge from crack and move out into the open to look up at St Paul's. Camera pans left to follow movement. Raymond points up at the cathedral, Melvin is in awe. As Raymond points camera zooms out and the audience see what Raymond is pointing at. Gesture Sheets - Raymond; Melvin: Raymond and Melvin Together.

Toolkit 2: Life Drawing - Back to Basics.

To catch up on missed out sessions of life drawing over the past year due to Covid, this past week (24th - 27th May) has been filled with the opportunity to catch up and get back to basics by putting pencil to paper.  I have found this past week to be quite refreshing by being able to get away from the computer screen and actually draw something on paper rather than by a graphics tablet. Throughout this week I have looked at exploring the human form through tone, shape, mark making and colour. When I first started drawing this week, I found I was a bit ‘rusty’ in some of the forms and shapes I was creating, but feel that over the past week I have gotten better at the seeing aspects of the human form and relaying what I’m seeing in real life to paper through observation and repetition of shapes. Life Drawing. - Catch Up. by Jasmine Masters

Toolkit 2: Lip Syncing Pt 4 - Adding Head Transition Movement, Blinking and Clean Up.

Image
This week we looked at finishing up the Predator lip sync animation. This consisted of adding in the head transitions from the locked blocking poses from last weeks work, as well as looking to add in some blinks throughout the clip to help the character seem more alive. Once the head transitions and blinks were added, I then looked at cleaning up the animation curves in the graph editor. Toolkit 2: Lip Syncing Pt4 by Jasmine Masters Head Transitions: Adding the Blink: Clean Up:

Toolkit 2: Lip Syncing Pt 3 - Adding in Eye, Brow and Head Movement.

Image
This week we looked at adding in eye, brow and head movement to the lip syncing 'predator' clip. This consisted of double key framing (locking like steeped key frames) sections of the clip where we wanted brow or head movement and then going back and adding in the in-betweens to help the transitions between the locking poses (head movement in-betweens are to come later). Lip Sync Pt3 by Jasmine Masters Eye and Brow Movement: Head Movement:

Toolkit 2: Lip Syncing Pt 2 - Adding in Phonemes/Visemes and Tongue Movement

Image
In todays lip syncing session, we looked at adding in further movement to the mouth. This was done by thinking about the phonemes/ visemes we make when we talk to add a more precise movement to the lips. In addition to this we also looked at adding in pressure to certain words and looked at tongue movement within the mouth and where the tongue catches on sounds. Lip Syncing Pt 2 by Jasmine Masters Tongue Movement: Phonemes/Visemes and Tongue Movement Outcome:

Toolkit 2: Lip Syncing Pt1: Jaw Bounce.

Image
This week I looked at lip syncing. With this I looked at animating the Jaw Bounce to piece of audio from Star Trek: Generations (1994). This involved moving the lower section of the Jaw on the Moom rig to mimic the open and close motions of speech and making sure to thinking about how the mouth moves to produce sounds and words. Using the thought process of how the Muppets 'bite' words to seem like they are alive and talking; to the added knowledge of Phonemes and Visemes to help inform lip movements and the sounds we make. Phonetics: Mouth Movement & Prepping for Posing. Toolkit 2: Lip Syncing Pt1 by Jasmine Masters Lip Sync Blocking Outcome:

Sessions with James #4 - Continued Animation #2 with the Ultimate Bony Rig.

Image
Continuing on from adding the in-betweens from last time. Here I looked at converting the stepped keyframes to splined and then in the graph editor looked at cleaning up the spline curves so there was no overshoot and to make sure the timing of the animation seemed right. Cleaning up Animation (partial from frame 0004 to 0095.) Clean Animation - First Pass ^^Some parts are a bit slow and need readjusting to help speed up segments of the animation and some parts need going over to remove any jerky/ jumpy movements as well as removing any further rigidity in the animated movements in the second pass.

Sessions with James #3 - Continued Animation with the Ultimate Bony Rig.

Image
This week we looked at adding in the in-between poses to our keyframe animations from last week. Here I added in the remaining keyframes from last week to help round off the sitting sequence. I then looked at adding in extra keys to help add weight and movement control to the sequence. Reference Footage: Final Main Keyframes Finished: Added In-Betweens to Key Poses: Isolated In-Between (Chair Swipe):

Sessions with James #2 - Animation with the Ultimate Bony Rig.

Image
This week we looked at using the bony rig to create a short animation showing the rig sitting down. We had a choice of either shooting reference to use or we could find reference online and use that as our base for our animation. I chose to use one of Kevin Parry's sitting sequences to animate, this being the 'Silent Film Star sitting sequence (see video below). With this reference I looked at blocking out the key poses for the short; making sure to set the time slider tangents to flat and stepped in the animation settings, I also chose to set the frames to 25fps. For this I had about 22 key poses (contact points) to position using the bony rig (not all key poses are marked out in the reference footage as I had to make some adjustments to the poses the rig would transition through).  Below are the time slider settings and some the key poses for the sitting sequence. Animation with the Ultimate... by Jasmine Masters Reference Footage: Key Poses (14):

Toolkit 2: Texturing Pipeline - Texturing a Graffitied Dumpster in Substance Painter.

Image
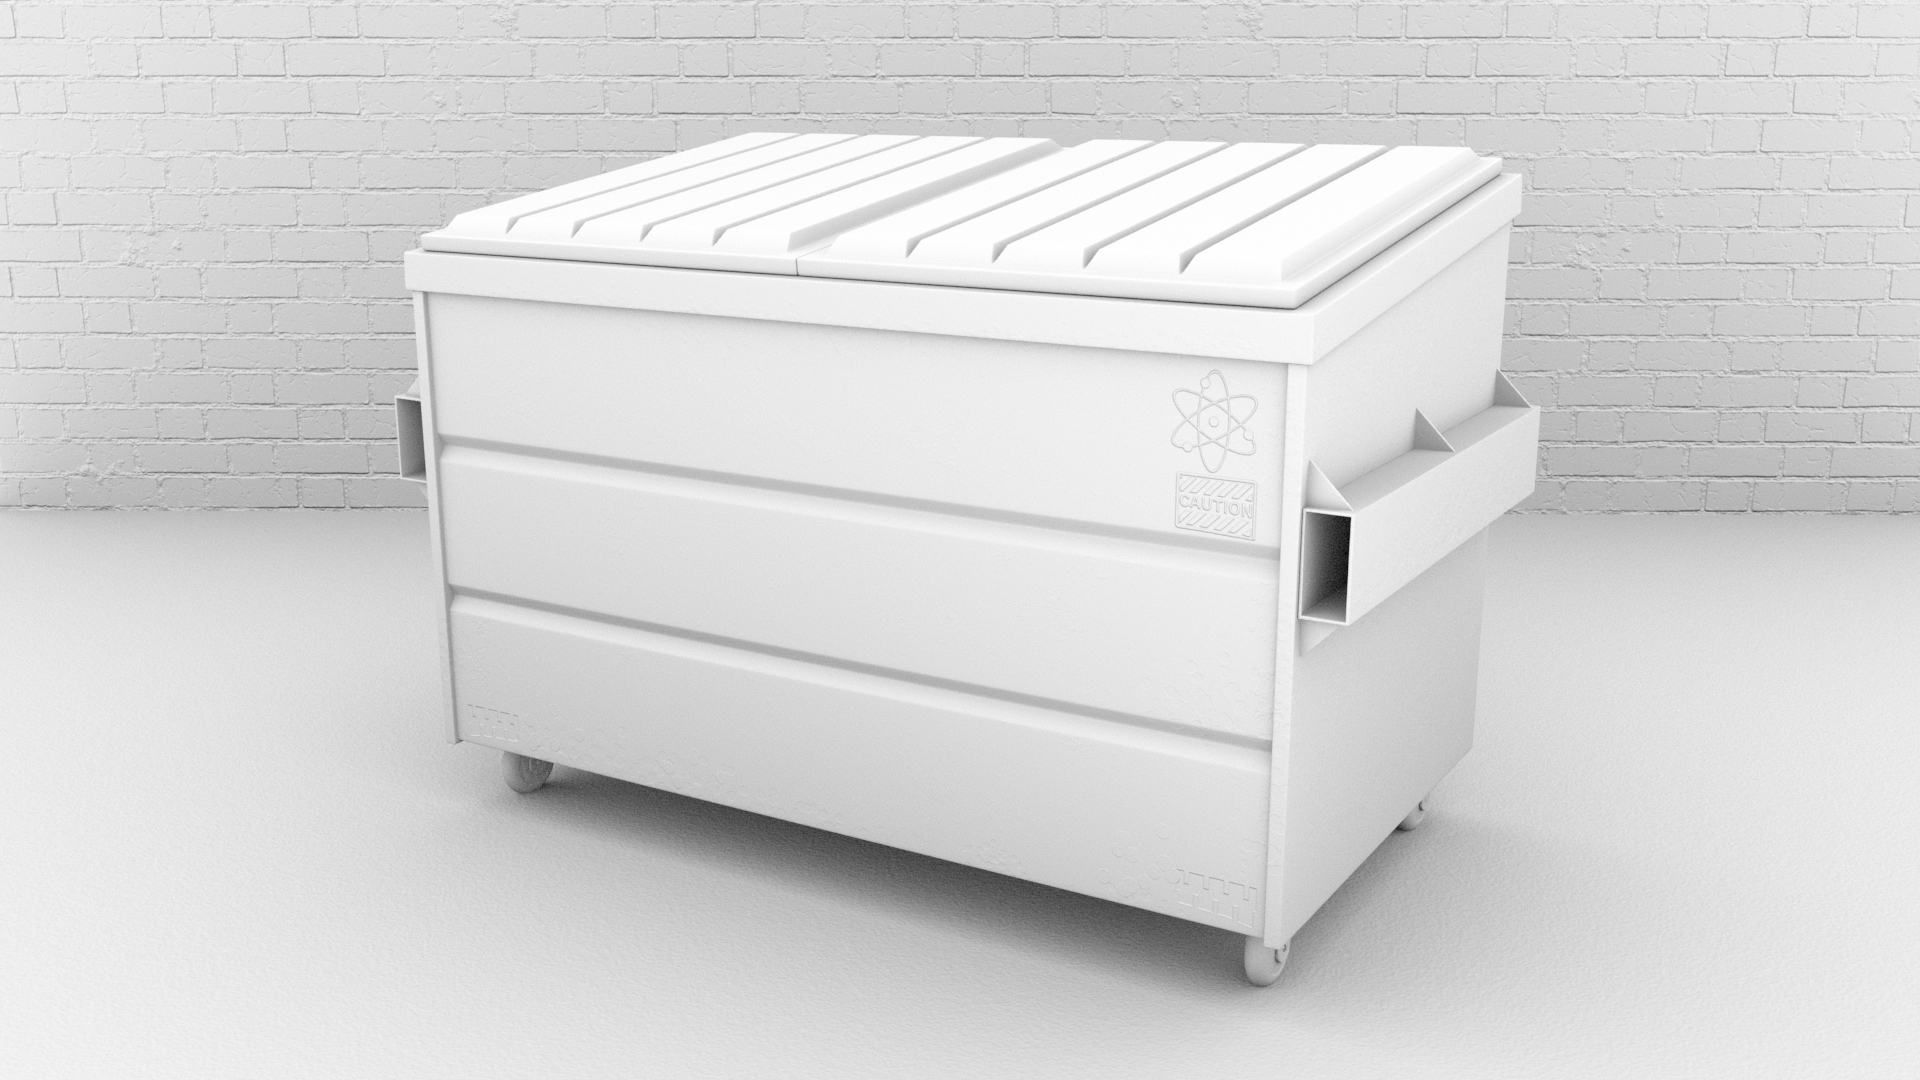
Continuing on with learning Substance Painter. For this session we looked at texturing a Dumpster. Using more in-depth methods to texture the model; ranging from using a variety of masks, filters, generators, fill layers, anchor points and projections onto a surface to create the end outcome. I still had some stags due to my system requirements and the program not running how it should with maps glitching; but managed to make do with what the program would allow me to do. Texturing Pipeline - Textur... by Jasmine Masters AO Pass. Final Render Composite with AO Pass.

Toolkit 2: Texturing Pipeline - Texturing an Oil Can in Substance Painter.

Image
Continuing on with learning Substance Painter. For this session we looked at texturing an Oil Can. Using more in-depth methods to texture the Can; ranging from using a variety of masks, filters, generators and fill layers. Whilst using Substance I found I hit a few snags when it came to adding textures in the height map; meaning that although I was adding this information in, I wasn't showing on the live render model in the viewport. This may be down to the type of graphics card I have on my laptop and not having enough cache memory to carry out certain operations. Texturing a Oil Can in Subs... by Jasmine Masters Oil Can Composite.

Sessions with James #1 - Posing with the Ultimate Bony Rig.

Image
This week for our session with James, we looked at adding a timecode to a piece of reference footage and marking out where the key poses are in premiere as well as looking at stepped animation and key framing poses in Maya. For each pose we had 10 minuets to pose the Ultimate Bony Rig to match that of the reference image we were provided with. Here the main focus was on creating the flow curves of the action being carried out (some being S and C motion curves). We did not manage to do all the of the poses; so, as extra after the session came to a close we were asked to do two of the remaining poses from the reference images. These being the tennis player and the other pose we didn't do of the two men fighting. Session #1 - Posing with th... by Jasmine Masters                         

Toolkit 2: Texturing Pipeline - Introduction to Substance Painter.

Image
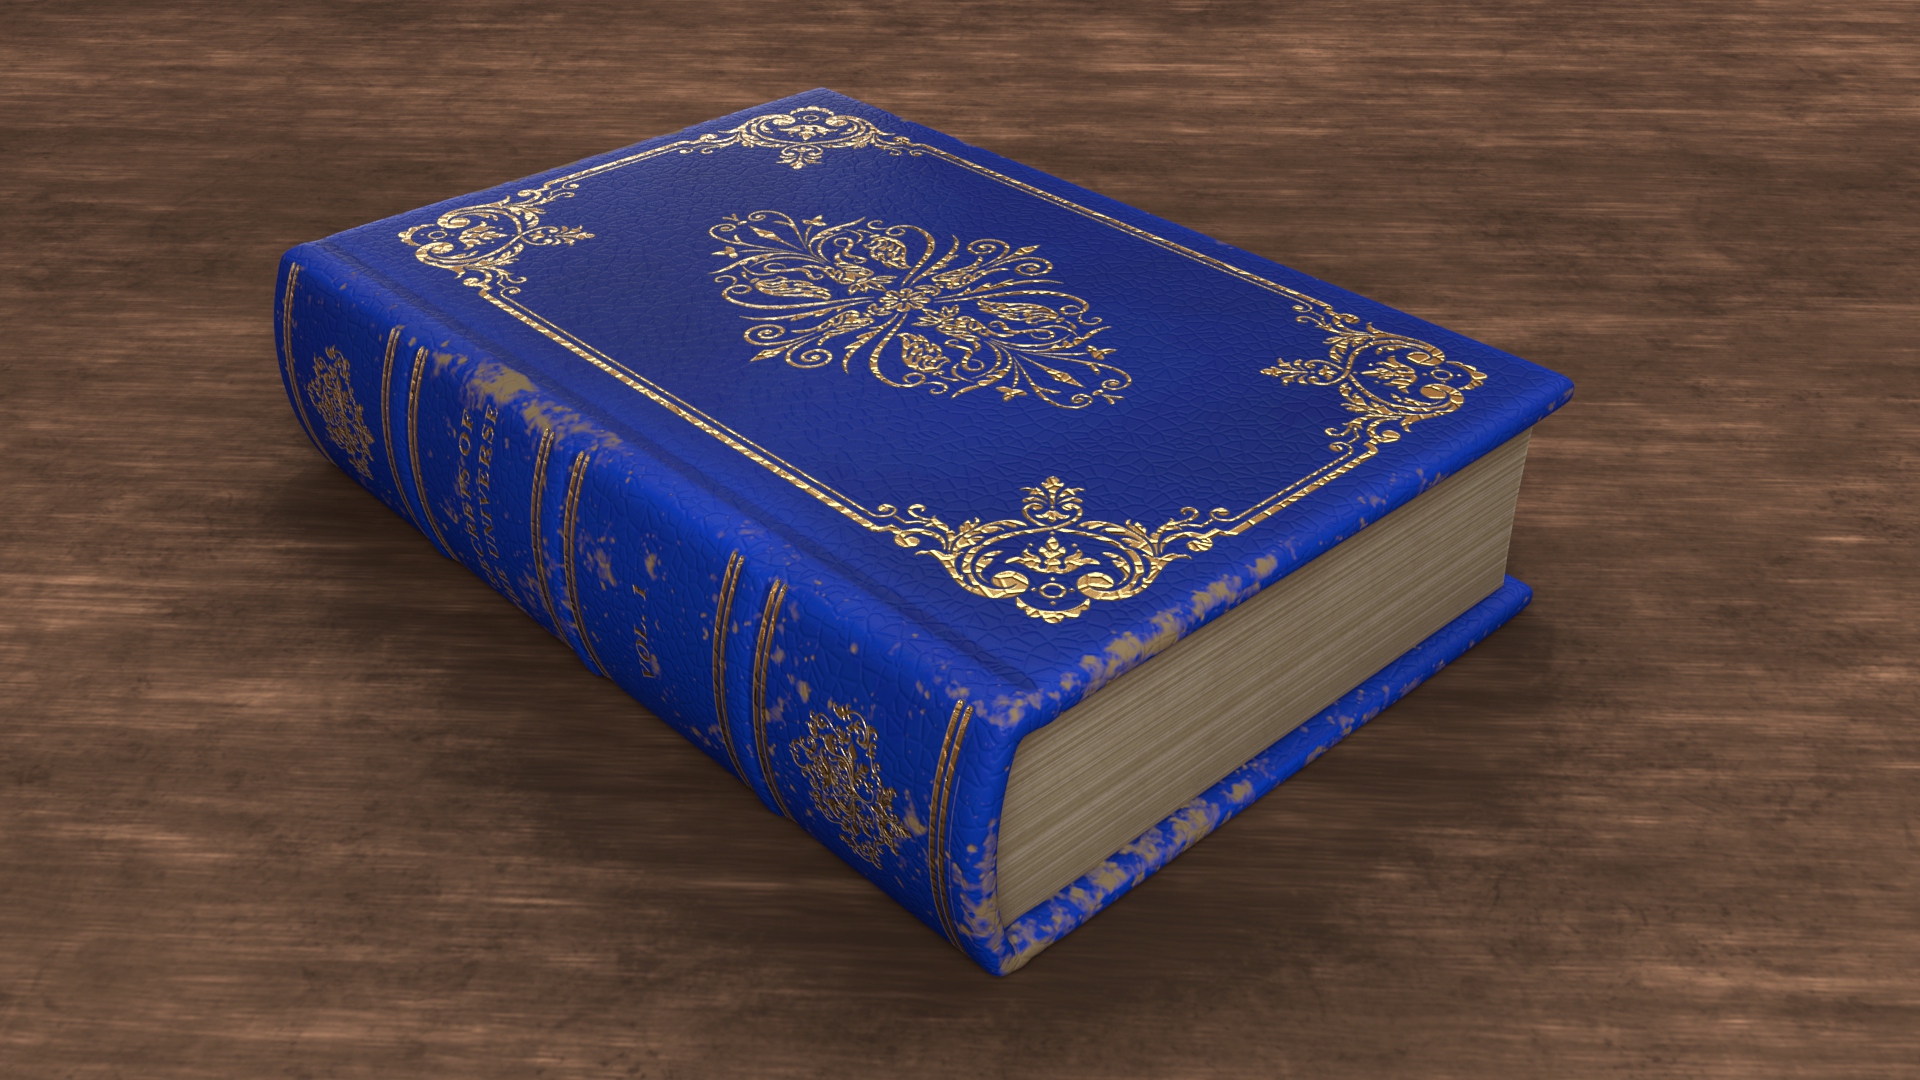
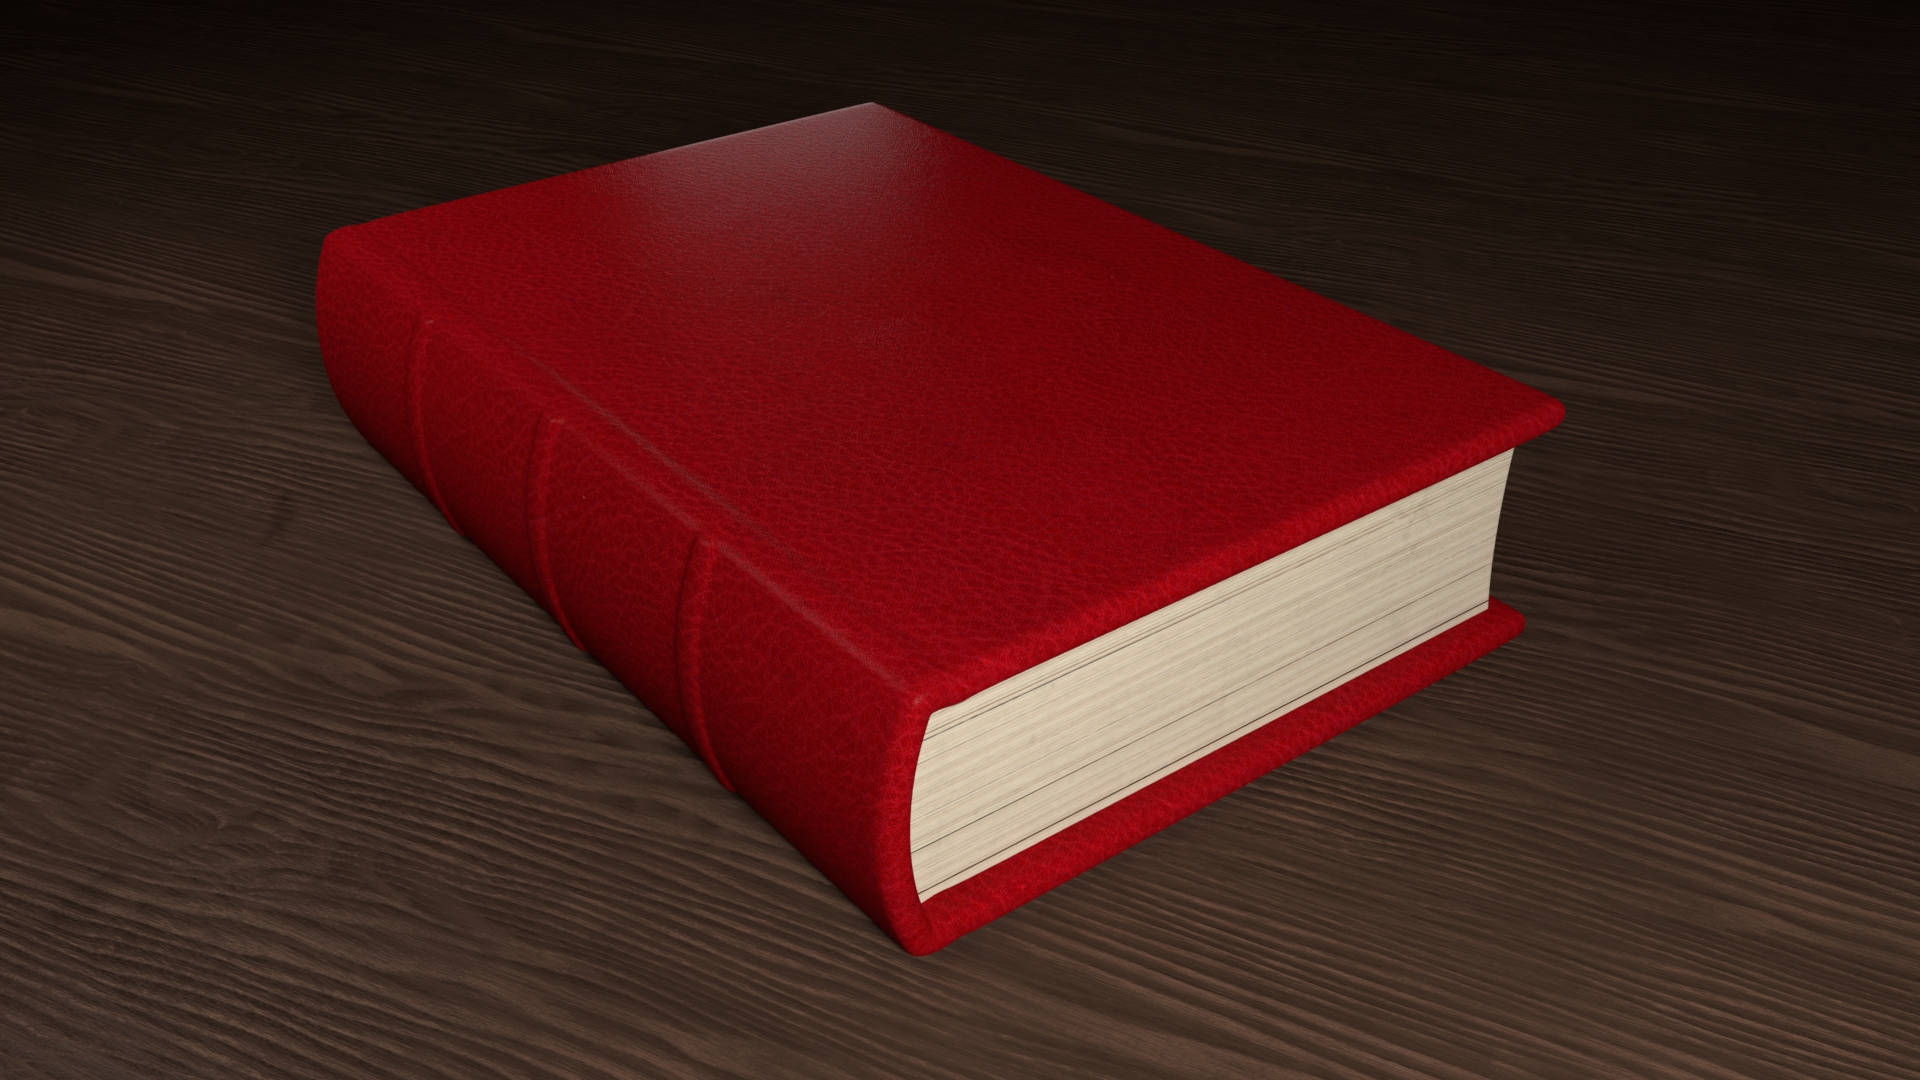
This week we were introduce to Substance Painter; which is a live texture editing software used to texture models and create maps to then use in other programs, in this case we were exporting maps to use in Maya. Book Texturing in Substanc... by Jasmine Masters Book Outcome. Book Composite Outcome.

Toolkit 2: Texturing Pipeline -Procedural Texturing & Utility Node Networks.

Image
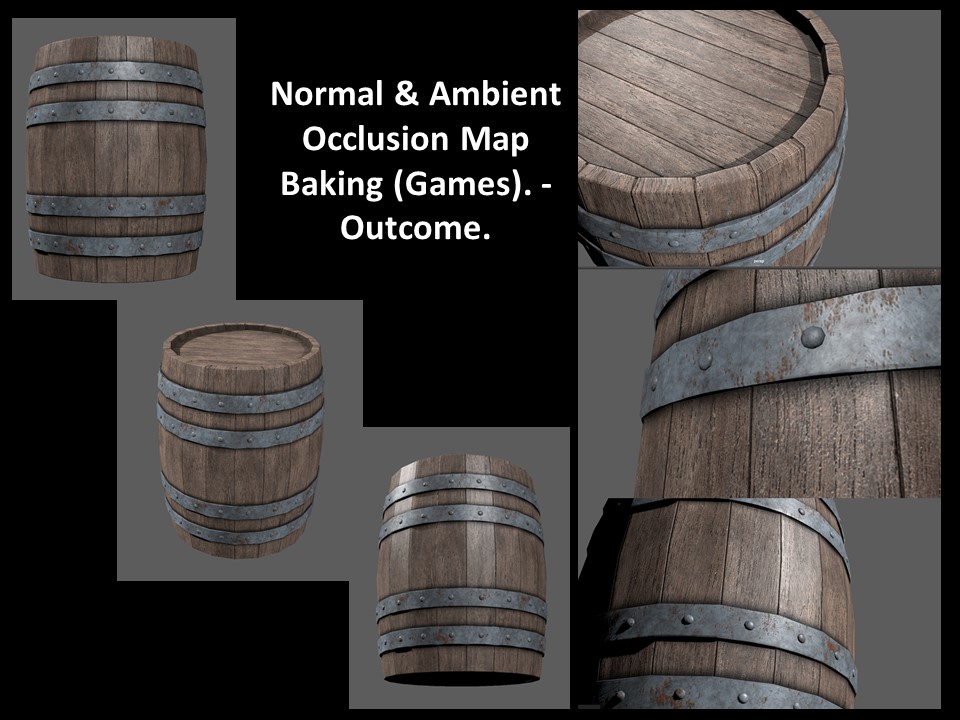
This week we looked at the use of Normal maps and Ambient Occlusion maps with the aid of the program XNormal to generate said maps; these maps are typically used in game engines as quick ways to build texture and depth within the scenes objects. This week we also looked other methods of procedural texturing which included the use of the hyper shade to modify and create node networks. This can be seen with the flipped normals on book pages and the use of animated texture maps. Procedural Texturing & ... by Jasmine Masters Animated Texture Map Still. Video:                        Book Page Flip 1. Book Page Flip 2. Book Page Flip 3.

Toolkit 2: Texturing Pipeline - Book Texturing Pt3.

Image
Continuing on from lasts weeks  Texturing Pipeline  . This week I looked at furthering the texturing process. This consisted of adding dirt to the book cover, the gold leaf detailing and adding wear and tear to the book cover. Book Texturring Pt 3 by Jasmine Masters Adding Dirt to Book and Ground Plane. Adding the Gold Leaf. Adding Wear and Tear. Final Composite with AO Passes.

Toolkit 2: Check-in.

Maya Tutorials: Lighting and Rendering: Arnold Lighting and Rendering So Far Pt1: Arnold Lighting and Rendering So Far Pt2: Arnold Lighting and Rendering So Far Pt3: Pipeline 1: Pipeline 1 - Head Modelling. Drawing: Life Drawing: Life Drawing #1 . Life Drawing #2. Life Drawing #3. Character Design: Character Design - Production Bible: